I walked into my backyard one sunny spring morning, and I got super excited. I always dreamed of having my own garden, but my small space and the unpredictable weather made it tough. Then, I stumbled upon something amazing – mini greenhouses.
In today’s world, where lots of us live in cities and the weather is all over the place, mini greenhouses are a total game-changer for folks like me who love gardening. It doesn’t matter if you have a tiny balcony in the city or a small yard in the suburbs; a mini greenhouse can make your gardening dreams come true. If you’re new to all this, don’t worry! This guide is your ticket to discovering how awesome these little plant homes can be.
In the next bit, I’ll walk you through the cool world of mini greenhouses.
Using a mini greenhouse for beginners involves the following steps:
- Choose a sunny location.
- Assemble the greenhouse following instructions.
- Use well-draining soil and select suitable plants.
- Plant seeds or seedlings in pots or trays.
- Maintain temperature and humidity with proper ventilation.
- Water consistently but avoid overwatering.
- Fertilize as needed.
- Monitor and manage pests and diseases.
- Prune and train plants as they grow.
- Harvest when mature.
- Store the greenhouse seasonally.
Where Should You Place Your Mini Greenhouse for Optimal Growth?
Choosing the perfect spot for your mini greenhouse is the first step to ensuring thriving plants and bountiful yields.
Choosing a Suitable Spot with Adequate Sunlight:
Mini greenhouses thrive when they receive 6-8 hours of direct sunlight daily. Choose a spot that gets maximum sunlight, preferably facing south or southeast. If your location doesn’t receive enough sunlight, consider using supplemental grow lights for indoor greenhouses.
While sunlight is essential, excessive wind and harsh afternoon sun can be damaging. Place your greenhouse where it’s sheltered from strong winds and intense midday sun, especially in hotter climates.
In addition, ensure easy access to your greenhouse for watering, maintenance, and harvesting. It should be convenient to reach without trampling on other garden areas.
Considerations for Indoor and Outdoor Placement:
The choice between indoor and outdoor placement depends on your specific circumstances:
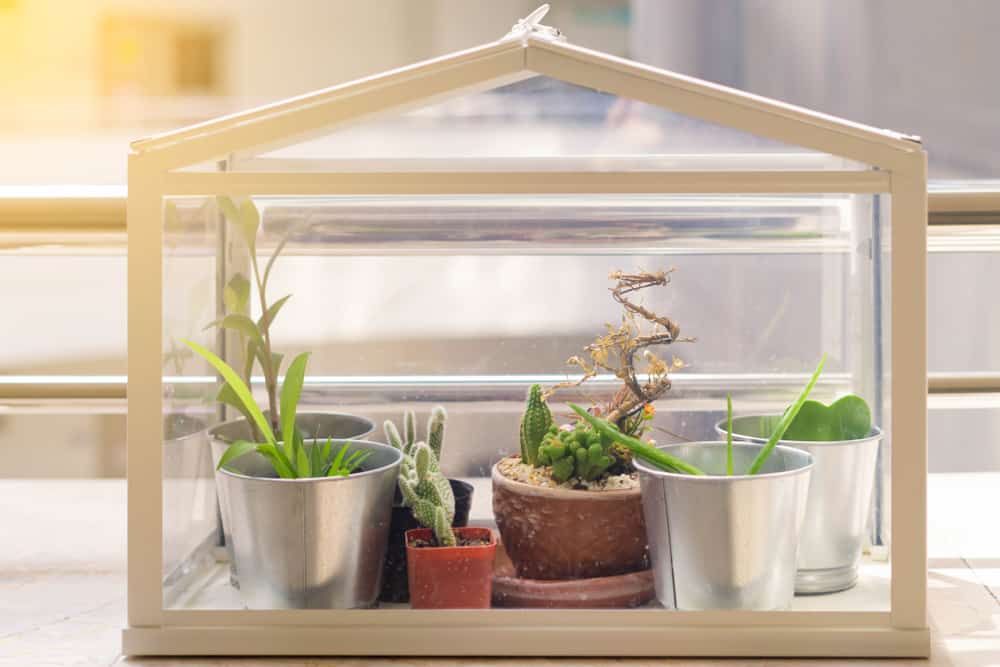
Indoor mini greenhouses are suitable for people with limited outdoor space or for those who want to extend the growing season. Place it near a south-facing window to maximize natural light or use grow lights for sufficient illumination.
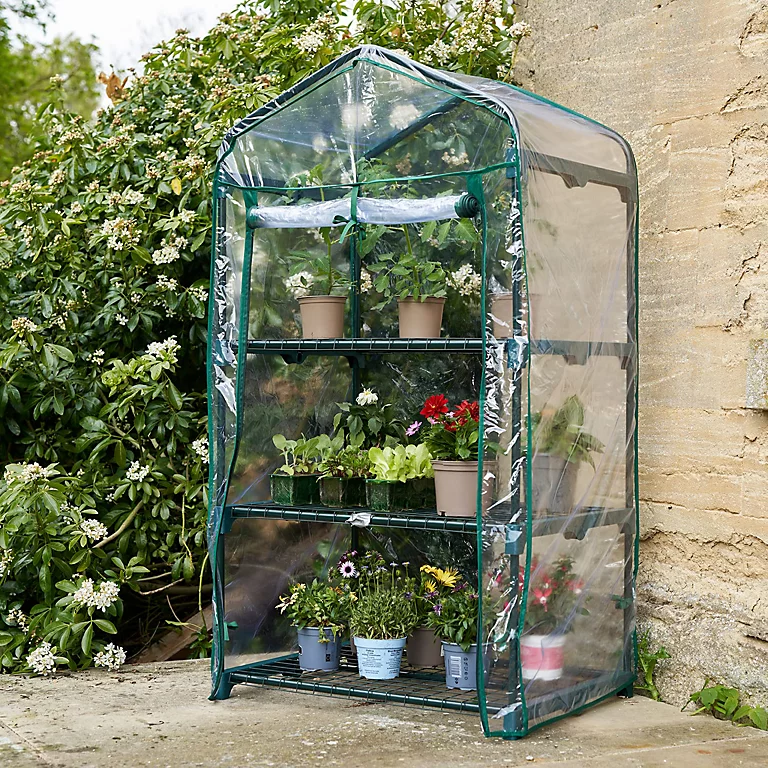
On the other hand, outdoor mini greenhouses are ideal if you have garden space. They provide more natural conditions for your plants and can accommodate larger greenhouse structures. Ensure the location has good drainage to prevent waterlogging.
How to Properly Assemble a Mini Greenhouse?
Embark on your greenhouse gardening journey by mastering the art of assembling your mini greenhouse with these step by step instructions.
Following Manufacturer Instructions for Assembly:
Proper assembly is essential for the functionality and durability of your mini greenhouse. Follow these guidelines:
Carefully read and understand the manufacturer’s instructions provided with your mini greenhouse. Each greenhouse model may have unique assembly steps.
Moreover, collect all the necessary tools and materials required for assembly as listed in the instructions. This typically includes screwdrivers, wrenches, and sometimes a helper.
In addition, follow the step-by-step assembly instructions in the correct order. Pay attention to details such as fastening bolts and connectors securely to ensure stability.
Ensuring Stability and Security of the Structure:
A stable greenhouse structure is essential to protect your plants and withstand weather conditions. Here’s how to ensure stability:
Secure your mini greenhouse to the ground or a sturdy surface to prevent it from being blown away by strong winds. You can use anchors, stakes, or weights to achieve this.
Furthermore, iInspect the seams and joints for any gaps or openings. Seal them with appropriate materials like weather-resistant tape or silicone to prevent drafts and moisture ingress.
Moreover, periodically check for loose bolts or damaged parts. Tighten any loose connections and replace any worn-out components to maintain the integrity of the structure.
What Are the Key Steps for Effective Soil Preparation in Gardening?
Unlock the secrets to a flourishing garden with these essential steps for preparing your soil to create the perfect foundation for your plants.
Selecting the Right Soil Type (Potting Mix or Seed Starting Mix):
The type of soil you use in your mini greenhouse is vital for plant health and growth. Here’s how to choose the right soil:
Potting mix is a well-balanced soil mixture designed for container gardening. It provides good aeration and drainage. Select a high-quality potting mix appropriate for your plant type (e.g., cactus mix for succulents).
Moreover, seed starting mix is a lightweight, sterile soil medium ideal for germinating seeds. It promotes healthy root development and reduces the risk of diseases. It’s commonly used for starting seeds in trays or pots.
Ensuring Proper Drainage to Prevent Waterlogging:
Proper drainage is essential to prevent waterlogged soil, which can lead to root rot and other plant issues. Here’s how to ensure good drainage:
Choose Well-Draining Containers: Use pots or trays with drainage holes to allow excess water to escape. Elevate containers slightly by placing them on bricks or pot feet to improve drainage.
Add Drainage Materials: Place a layer of small rocks or perlite at the bottom of your containers before adding soil. This helps improve drainage.
Watering Technique: Water your plants appropriately, ensuring that excess water doesn’t accumulate in the saucers or trays beneath the pots. Empty excess water promptly.
How to Choose the Ideal Plants for Your Mini Greenhouse?
Discover the art of plant selection and transform your mini greenhouse into a thriving haven with these expert tips.
Choosing Plants Appropriate for a Mini Greenhouse:
Selecting the right plants for your mini greenhouse is essential. Here are factors to consider:
Size: Choose plants that won’t outgrow the limited space inside your mini greenhouse. Compact or dwarf varieties are often more suitable.
Climate: Consider the local climate and the temperature inside your mini greenhouse. Some plants are more heat-tolerant, while others prefer cooler conditions.
Light Requirements: Match the light requirements of your chosen plants with the available sunlight in your mini greenhouse. Some plants thrive in full sun, while others do well in partial shade.
Suggesting Beginner-Friendly Plant Options:
If you’re a beginner, starting with easy-to-grow plants can boost your confidence and success rate:
Herbs: Herbs like basil, parsley, chives, and mint are forgiving and adapt well to mini greenhouse conditions. They’re also rewarding to grow because you can use them in your cooking.
Leafy Greens: Spinach, lettuce, kale, and Swiss chard are relatively easy to grow in mini greenhouses. They don’t require much space and provide a steady supply of fresh greens.
Tomatoes: Cherry or patio varieties of tomatoes are compact and suitable for mini greenhouses. They can produce a generous harvest if properly cared for.
Flowers: Marigolds, petunias, and pansies are colorful, low-maintenance flowers that can add beauty to your mini greenhouse.
What’s the Best Way to Plant in Your Mini Greenhouse?
Maximize your mini greenhouse’s potential by mastering the art of planting with these proven techniques.
Instructions for Planting Seeds or Transplanting Seedlings:
Planting correctly is essential for healthy growth. Here’s how to plant seeds or transplant seedlings in your mini greenhouse:
Seeds: Follow the seed packet instructions for planting depth and spacing. Use a dibber or your finger to create small holes in the soil, place the seeds, and cover them with the recommended amount of soil. Gently press down to ensure good seed-to-soil contact.
Seedlings: If transplanting seedlings, dig a hole in the potting mix that’s slightly larger than the root ball of the seedling. Carefully remove the seedling from its original container, place it in the hole, and fill in with soil around the roots. Water the seedlings immediately after transplanting.
Proper Watering Techniques After Planting:
Watering is a critical aspect of plant care. Here’s how to water your plants effectively after planting:
Watering Amount: Water the soil thoroughly after planting to ensure the roots make good contact with the soil. Use a watering can with a fine rose attachment or a spray bottle to avoid disturbing the seeds or seedlings.
Consistency: Maintain consistent moisture levels. Check the soil regularly and water when the top inch feels dry to the touch. Be cautious not to overwater, as this can lead to root rot.
Avoid Watering Foliage: Water the soil around the base of the plants rather than overhead. Wet foliage can lead to fungal diseases.
Use a Saucer or Tray: Place pots or trays in a saucer or tray to catch excess water. Empty the saucer promptly to prevent waterlogging.
How to Properly Water Your Mini Greenhouse Plants?
Ensure your mini greenhouse plants thrive with the right watering techniques.
Guidelines for Keeping the Soil Consistently Moist:
Maintaining proper soil moisture is crucial for healthy plant growth. Here are guidelines to keep the soil consistently moist:
Regular Monitoring: Check the soil moisture regularly by inserting your finger about an inch into the soil. Water when it feels dry to the touch. Some plants have specific moisture requirements, so be aware of their preferences.
Watering Depth: Water deeply and evenly to encourage root growth. It’s generally better to water thoroughly less frequently than to provide shallow, frequent watering. Deep watering helps roots penetrate deeper into the soil.
Time of Day: Water in the morning to allow excess moisture to evaporate during the day, reducing the risk of fungal diseases. Avoid watering in the evening to prevent prolonged wet conditions overnight.
Water Delivery: Use a watering can, hose with a gentle spray nozzle, or a drip irrigation system to water your plants evenly and prevent soil erosion or damage to delicate seedlings.
Avoiding Overwatering and Its Consequences:
Overwatering is a common mistake that can lead to problems like root rot and mold. Here’s how to avoid overwatering:
Proper Drainage: Ensure pots have drainage holes and that excess water can escape. Elevate containers slightly to prevent water from pooling.
Water Only When Needed: Avoid a fixed watering schedule and water only when the soil is dry. Different plants have varying water requirements, so adjust your watering frequency accordingly.
Mulching: Applying a layer of mulch to the soil surface can help retain moisture and reduce the need for frequent watering.
Drying Cycles: Allow the soil to dry slightly between waterings to encourage the development of a healthy root system. Plants need periods of dryness as well as moisture.
What’s the Right Way to Fertilize Your Mini Greenhouse Plants?
Unlock the secrets to lush and vibrant mini greenhouse plants with the perfect fertilization strategies
Using Fertilizers to Provide Essential Nutrients:
Fertilizers are essential for replenishing nutrients in the soil and promoting plant growth. Here’s how to use them effectively:
Choose the Right Fertilizer: Select a balanced, water-soluble fertilizer or a slow-release granular fertilizer suitable for your plant type. Fertilizers are labeled with three numbers representing the ratio of nitrogen (N), phosphorus (P), and potassium (K). Different plants may require different ratios, so choose accordingly.
Follow Instructions: Always follow the manufacturer’s instructions for mixing and applying the fertilizer. Overusing fertilizer can harm plants, so avoid guesswork.
Application Timing: Apply fertilizers during the growing season, typically in the spring and early summer. Avoid fertilizing during the dormant or winter months when plants are not actively growing.
Preventing Over-Fertilization:
Over-fertilization can lead to nutrient imbalances and harm your plants. Here’s how to prevent over-fertilization:
Measure Accurately: Use a measuring spoon or scale to ensure you apply the correct amount of fertilizer as specified on the label. Never guess the quantity.
Dilution for Liquid Fertilizers: If using liquid fertilizers, dilute them to the recommended concentration to avoid overwhelming the plant’s root system.
Avoid Fertilizer Burn: Keep fertilizer granules or liquid away from plant stems and foliage to prevent burning. Water thoroughly after application to distribute the nutrients evenly.
Regular Monitoring: Monitor your plants for signs of nutrient deficiencies or excesses. Adjust your fertilization schedule or type based on their specific needs.
FAQ’s
What can I grow in a greenhouse for beginners?
You can grow a variety of plants in a greenhouse, including tomatoes, peppers, herbs like basil and mint, lettuce, cucumbers, and flowers like marigolds and petunias, which are beginner-friendly.
Do mini greenhouses need direct sunlight?
Yes, mini greenhouses generally need direct sunlight for about 6-8 hours a day to support plant growth effectively.
Are mini greenhouses good?
Mini greenhouses are excellent for extending the growing season, protecting plants from harsh weather, and creating controlled environments for gardening, making them a valuable tool for gardeners.
What is the best way to use a mini greenhouse?
The best way to use a mini greenhouse is to select a sunny location, choose suitable plants, provide proper ventilation, maintain consistent watering, and adjust temperature and humidity as needed for your specific plants.
Do greenhouses make plants grow faster?
Greenhouses can accelerate plant growth by providing a controlled environment with optimized conditions, such as stable temperatures, adequate light, and protection from harsh weather.
What fruits are easiest to grow in a greenhouse?
Fruits like cherry tomatoes, strawberries, and dwarf citrus varieties (e.g., calamondin oranges) are among the easiest to grow in a greenhouse due to their adaptability to container gardening and controlled conditions.
What is the best soil for a greenhouse?
The best soil for a greenhouse is a well-draining potting mix or seed starting mix, depending on your planting needs. These mixes provide good aeration and moisture retention for healthy plant growth.
Conclusion
In summary, using a mini greenhouse as a beginner has been a rewarding journey of learning and growth. Through the process of selecting an ideal location, assembling the structure, preparing the right soil, and choosing appropriate plants, I’ve gained valuable insights into the world of gardening.
However, understanding the nuances of watering, fertilizing, pest management, and the importance of pruning and training has been instrumental in nurturing healthy and thriving plants within my mini greenhouse.
Moreover, mastering the art of harvesting and seasonal maintenance has not only allowed me to enjoy the fruits of my labor but also to prepare for the next growing season with confidence.