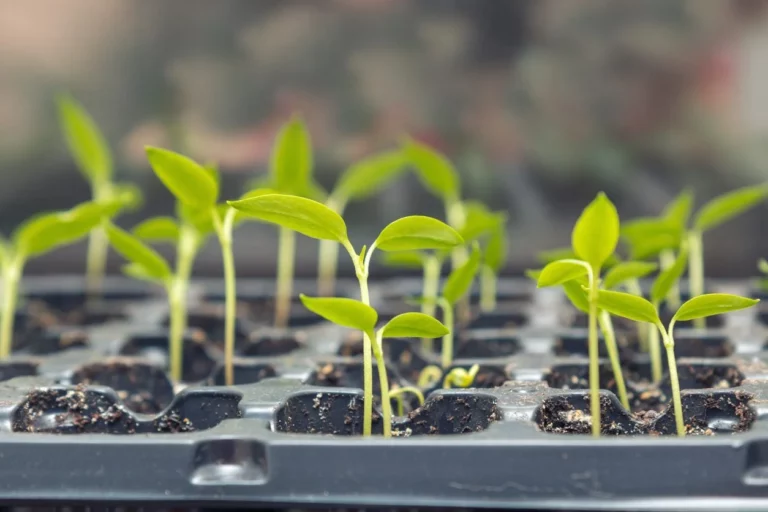
Standing inside my greenhouse on a crisp spring morning, I am filled with anticipation as I hold a tiny seed between my fingers. This minuscule speck of life carries within it the promise of vibrant foliage, fragrant blooms, or delicious harvests. It’s a reminder of nature’s incredible power to transform the tiniest package into a thriving plant.
As I gently place the seed into a tray filled with carefully selected starting mix, I’m embarking on a journey of nurturing and growth. If you’ve ever wondered how to start seeds in a greenhouse, you’re in the right place. Check out this method:
- Prepare your greenhouse.
- Choose the right seeds.
- Select containers for planting.
- Fill containers with seed-starting mix.
- Plant the seeds.
- Maintain proper temperature.
- Ensure adequate light.
- Monitor and adjust humidity.
- Water carefully.
- Regularly check and adjust as needed.
Join me as we unlock the secrets of coaxing these tiny miracles into robust, green wonders, one careful step at a time.
When Should Greenhouse Seeds Be Planted?
The timing for planting seeds in a greenhouse depends on various factors, including the type of plants you want to grow, your local climate, and your intended harvest or planting date. Here are some general guidelines to help you determine when to plant greenhouse seeds:
Know your local climate: Understanding your local climate is crucial because it directly affects when you can start seeds in a greenhouse. Find out your average last frost date in the spring and your first frost date in the fall. This information will help you plan your seed starting schedule.
Calculate your planting date: To calculate when to plant seeds, you’ll work backward from your expected transplant or outdoor planting date. Most seed packets provide information on when to start seeds indoors, which is typically a certain number of weeks before the last frost date.
For example, if the packet recommends starting seeds indoors 6-8 weeks before the last frost date, count backward from that date to determine your greenhouse planting date.
Consider the type of plants: Different plants have different requirements for when to start seeds. Some plants are hardy and can be started earlier, while others are more sensitive to cold and should be started later. Read the seed packets or consult gardening resources for specific recommendations for each type of plant.
- Cool-Season Crops: Plants like lettuce, spinach, kale, and broccoli thrive in cooler temperatures. You can start these seeds indoors in late winter to early spring and transplant them into the greenhouse when they are ready.
- Warm-Season Crops: Tomatoes, peppers, and cucumbers are warm-season crops that require higher temperatures. Start their seeds indoors in early to mid-spring, and once they have developed well, move them to the greenhouse when the weather warms up.
- Perennials and Flowers: The timing for perennial plants and flowers varies depending on the species. Research the specific requirements of each plant to determine when to start their seeds.
Use a seed starting calendar: There are online tools and seed starting calendars available that can help you calculate the ideal planting dates for various crops based on your location. These tools can simplify the process by providing you with specific dates for each plant variety.
Monitor soil temperature: Soil temperature is crucial for successful seed germination. Invest in a soil thermometer to check the temperature inside your greenhouse. Some plants require warmer soil than others, so adjust your planting schedule accordingly.
Provide proper lighting: Adequate lighting is essential for young seedlings. If your greenhouse doesn’t receive enough natural sunlight, consider using artificial grow lights to ensure your seedlings receive the light they need for healthy growth.
Keep records: Maintain a gardening journal or calendar to track your planting dates, germination rates, and transplanting dates. This will help you refine your schedule in subsequent years.
What are the materials do you need?
Materials and tools you’ll need:
- Seeds of your chosen plants
- Seed trays or pots
- Sterile seed-starting mix or potting soil
- Labels or markers
- Watering can or spray bottle
- Heating mat (optional, for maintaining soil temperature)
- Grow lights (if your greenhouse lacks adequate natural sunlight)
- Ventilation system (to regulate temperature and humidity)
- Thermometer and hygrometer (for monitoring conditions)
- Tables or shelves for organizing and placing trays
A Guide on How to Start Seeds in a Greenhouse
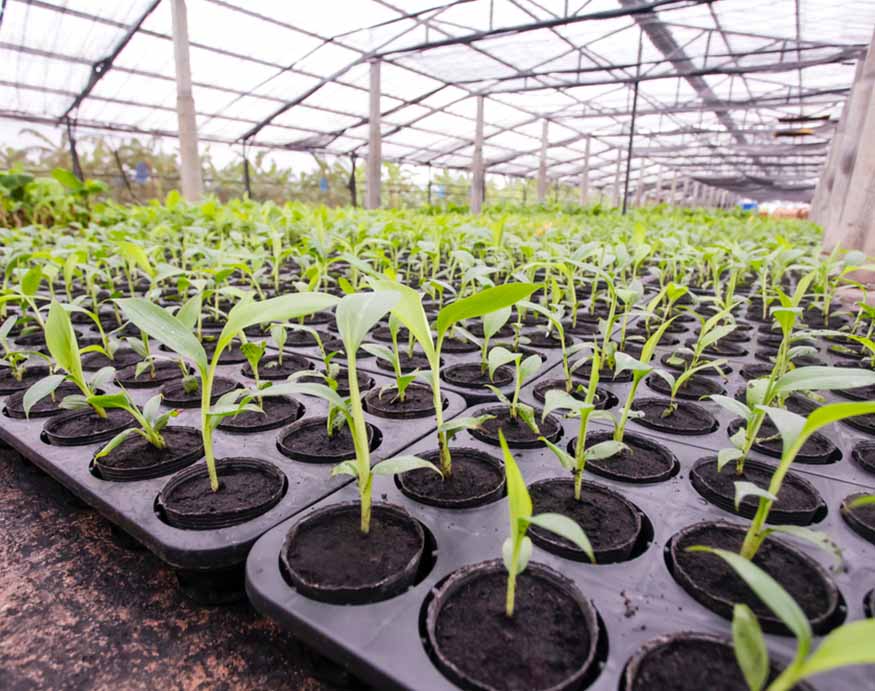
Prepare your greenhouse:
Ensure your greenhouse is clean and free of debris. Set up tables or shelves to provide a stable and organized workspace.
Choose the right seeds:
Check the seed packets for information on when and how to start them indoors.
- Decide what to grow in your greenhouse, such as vegetables, flowers, or herbs.
- Research the specific requirements of your chosen plants.
- Select varieties well-suited to your local climate and growing season.
- Consider disease or pest-resistant options if needed.
- Opt for non-GMO or organic seeds if that aligns with your preference.
Select seed containers:
- think about the mature size of your plants.
- select containers with enough depth for their root systems.
- remember that smaller containers suit compact plants, while larger ones are ideal for bigger ones.
- opt for materials like plastic, biodegradable pots, peat pots, or seed trays.
- ensure the chosen material is suitable for your plants and the greenhouse conditions
- Check for containers equipped with proper drainage holes to prevent overwatering.
- use trays or saucers to catch excess water and keep things tidy.
- consider reusable containers if you plan to start seeds every year.
- ensure they fit well within your greenhouse setup.
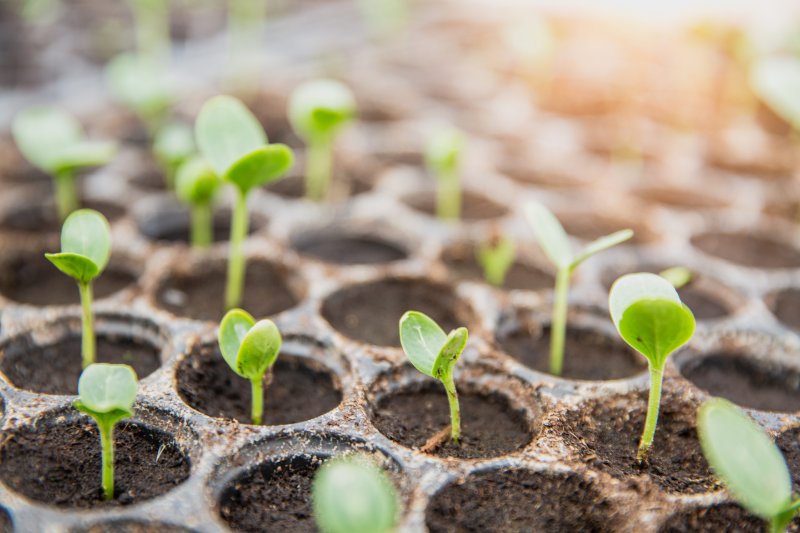
Fill containers with seed-starting mix:
Fill your containers with a high-quality seed-starting mix. Moisten the mix with water until it’s evenly damp but not waterlogged.
Plant seeds:
- carefully read the information on the seed packets for specific planting guidelines.
- note the recommended planting depth, typically in inches or millimeters.
- pay attention to spacing requirements to avoid overcrowding.
- use waterproof labels or plant markers to clearly identify each tray or pot.
- write down the plant name and the date of planting for tracking.
- securely place labels to prevent confusion during growth.
- Create furrows or holes in the seed starting mix as per depth guidelines.
- Place seeds in the furrows or holes, either individually or in small groups.
- Cover seeds with the recommended amount of mix or vermiculite.
- gently press down for good seed-to-soil contact, but avoid compacting the soil.
Provide proper temperature:
Many seeds require specific soil temperatures for germination. Consider using a heating mat under the trays to maintain the desired temperature. Monitor soil temperature regularly with a thermometer.
Ensure adequate light:
If your greenhouse doesn’t receive at least 6-8 hours of direct sunlight per day, supplement with grow lights. Position the lights about 2-4 inches above the seedlings, adjusting the height as the plants grow.
Maintain humidity:
Use a misting bottle or a small humidifier to keep the air around the seedlings humid. Covering the trays with plastic domes or plastic wrap can also help maintain moisture levels.
Also, Ensure good greenhouse ventilation to prevent overheating during sunny days.
Then, use vents, fans, or louvers to regulate temperature and humidity as needed.
Water carefully:
Water your seedlings gently, avoiding overwatering or letting the soil dry out completely. A spray bottle can be useful for this purpose. Use clean, non-chlorinated water when possible.
Next, collect rainwater or use filtered water to reduce chemicals that may harm plants.
Apply a layer of organic mulch around the plants to help retain soil moisture. Use the “finger test” to determine if the soil is moist enough.
Monitor and adjust:
Regularly check soil moisture, temperature, and humidity levels in your greenhouse. Make adjustments as needed to create optimal growing conditions for your seedlings.
Thin seedlings:
Once your seedlings have developed their first true leaves, thin them out if they’re overcrowded. This ensures that each plant has enough space to grow.
Harden off the seedlings:
Before transplanting the seedlings outdoors, gradually acclimate them to outdoor conditions by placing them outside for increasing periods each day over the course of a week or two.
Transplant:
When the weather is appropriate and your seedlings are strong enough, transplant them into your garden or larger containers.
FAQs
How do you start seeds early in a greenhouse?
To start seeds early in a greenhouse, you’ll need containers with a seed-starting mix, maintain proper temperature and humidity, and provide adequate light.
Can you use a greenhouse to start seeds?
Yes, greenhouses are ideal for starting seeds as they offer a controlled environment with protection from harsh weather.
Can I start seeds in an unheated greenhouse?
Yes, you can start seeds in an unheated greenhouse, but it’s crucial to monitor temperature and consider cold-tolerant seeds for success.
Can you start seeds in a greenhouse without grow lights?
Yes, While natural sunlight is best, you can start seeds in a greenhouse without grow lights if you have sufficient natural light. Grow lights can be useful in low-light conditions.
Do seeds need sunlight to germinate?
No, Seeds don’t necessarily need sunlight to germinate; they primarily require moisture, appropriate temperature, and oxygen. However, once germinated, they do need light for growth.
Which seeds need darkness to germinate?
Some seeds, like lettuce and certain herbs, require darkness for germination. Covering them with a thin layer of soil or a dark cloth can help simulate these conditions.
Conclusion
To wrap up, starting seeds in a greenhouse has been an enriching adventure. I began by preparing the greenhouse, selecting the right seeds, and choosing the ideal containers. Planting was all about attention to detail, creating the perfect environment for seeds to thrive.
Further, maintaining the greenhouse temperature, light, and humidity was key, and regular checks ensured everything was on track. Thinning overcrowded seedlings and transplanting them was a rewarding finale.
This journey has not only produced healthy plants but also deepened my gardening knowledge. I’m excited to keep improving and watch my greenhouse blooms flourish in the garden. Moreover, You should try all this step for a successful result.