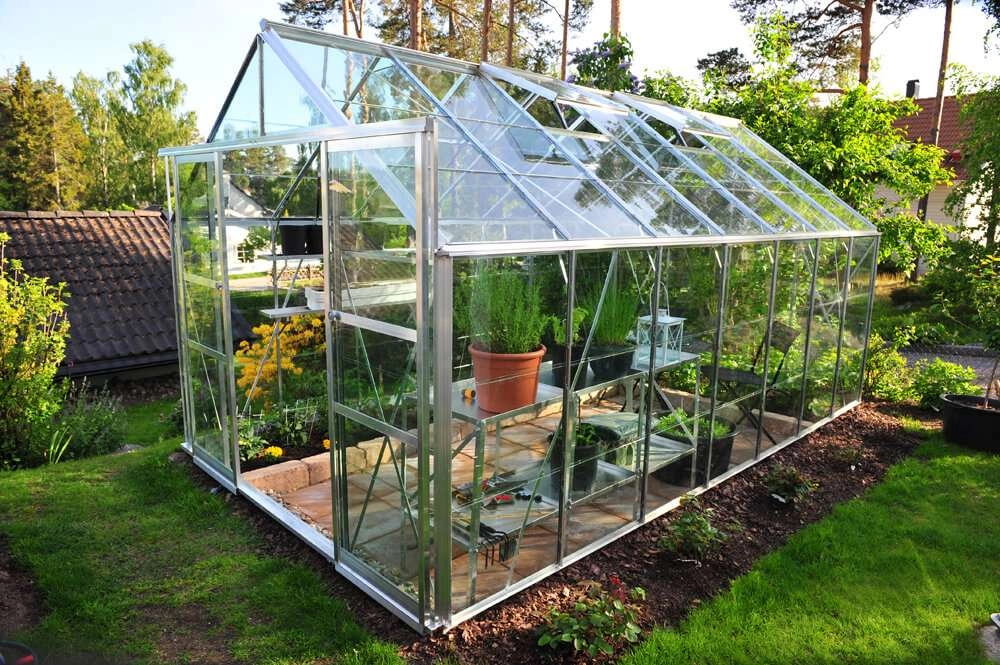
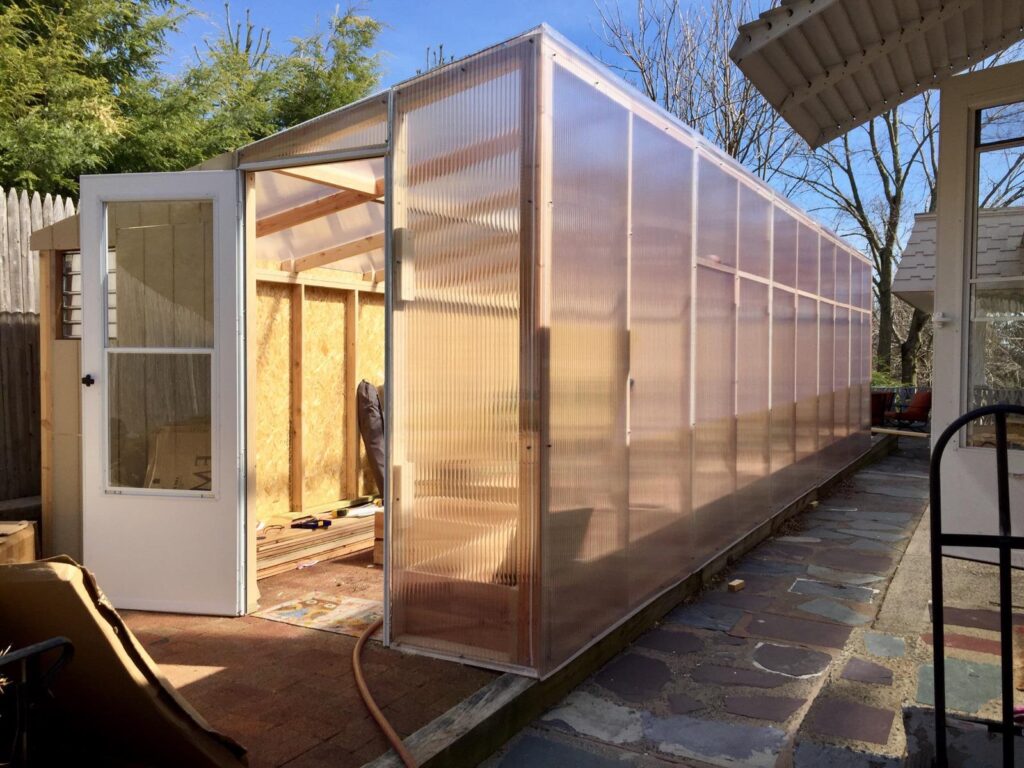
As I stood before the skeletal frame of my dream greenhouse, anticipation coursed through me like a current. The vision of a thriving sanctuary for my beloved plants was within reach, but first, I needed to master the art of installing polycarbonate sheets. It was a journey that transformed my greenhouse project from a mere structure into a haven of light and growth.
Here are simple steps to follow:
- Get sheets with UV protection for durability.
- Order all materials at once to save on shipping.
- Unload carefully, having the right tools and help if needed.
- Store sheets away from direct sunlight.
- Build a sturdy frame as recommended.
- Keep the protective film on while cutting and align ribs vertically.
- Avoid splicing sheets; allow for expansion, and use no bonded washers.
- Maintain a pitched roof, and follow bending guidelines.
- Use silicone sparingly on joints
In this guide, we embark on a shared voyage, demystifying the process of installing polycarbonate sheets in your greenhouse. So, let’s roll up our sleeves and shed light on the art of installing polycarbonate sheets—the key to unlocking the potential of your dreams.
What is Polycarbonate?

Polycarbonate, known for its robust and rigid nature, finds common application in greenhouses, particularly in the form of multiwall panels. These panels are engineered with two exterior layers and potentially additional interior walls, interconnected by ribs. When you gaze at a sheet of polycarbonate, it’s akin to peering into the end of a cardboard box.
In addition, Much like the layers of a sandwich, the exterior sheets are transparent, yet it’s the central rib structure that introduces distortion, preventing a clear, unobstructed view. To put it differently, while the material itself possesses clarity, the presence of these ribs is what alters the perception, making it different from looking through standard glass panes.
What do I need to build a strong greenhouse using polycarbonate sheets?
1. Polycarbonate Sheets: These sheets come in varying widths and lengths, offering flexibility in greenhouse design. With options spanning from 4′ to 6′ in width and lengths up to 48′, they provide the foundational structure for your greenhouse.
2. U Channel: Also referred to as J channel, this component is available in either aluminum or polycarbonate. Its primary purpose is to seal the channels at the top and bottom of the polycarbonate sheets. Drilling 1/8″ holes every 1 – 2 feet along the bottom U ensures proper drainage for any condensation that may accumulate.
3. Screws with Neobonded Washers: To securely fasten the polycarbonate sheets to the framing, you’ll require screws. These screws should be paired with flat washers featuring no bonded sides, ensuring a tight and weather-resistant connection.
4. Tapes: Two types of tapes come into play: aluminum or foil tape and vent tape. Foil tape is positioned beneath the U channel at the tops of the sheets, while vent tape is placed beneath the U channel at the bottom. These tapes enhance sealing and weatherproofing.
5. Side-by-Side Fasteners: Connecting polycarbonate sheets side by side demands the right fasteners. Several options are available:
a. Polycarbonate H-Joint: This single-part system slides between the sheets to secure them side by side. Installation involves loosely placing the sheets and sliding the H-joint from the bottom to the top.
b. Polycarbonate Base and Cap: Comprising two components—a base and a cap—this system simplifies the process. The base is affixed to the framing, sheets are positioned over it, and the cap is securely “snapped” into place with a rubber mallet. An interlocking mechanism keeps everything snug, making it particularly convenient for longer sheets.
c. Aluminum Base and Cap: Similar to the polycarbonate base and cap, this option utilizes aluminum components. However, instead of snapping, the cap screws into the base, offering a durable and secure connection.
How to install polycarbonate sheets greenhouse: Top Guide

Prioritize UV Protection: When purchasing polycarbonate sheets, make sure they are UV protected on at least one side, the side facing the sun. This UV protection extends the material’s lifespan, typically offering a warranty of 10 to 20 years with an expected lifetime of at least 15 years.
Plan Your Materials: To avoid multiple shipments and extra expenses, ensure you’ve ordered all necessary materials in one go. Be ready to unload upon delivery, whether through a forklift or a power liftgate, as unloading is your responsibility.
Unload with Care: If you choose to hand-carry the sheets, have the right tools and a helper on hand. Tools such as tin snips, a hammer, a crowbar, a drill with screwdriver bits, and a helper will make the process smoother.
Avoid Direct Sunlight: Don’t store your polycarbonate sheets in direct sunlight before installation, as the protective film can melt into the panels, making it impossible to remove.
Frame Adequately: Make sure your greenhouse frame is built to withstand your local weather conditions. Proper rafter and purlin spacing is crucial, and manufacturers provide charts for reference.
Protective Film: Keep the protective shipping cover on the sheets until you’re ready to install. This cover indicates which side is UV protected, and once removed, it’s challenging to determine the correct orientation.
Cutting Care: When cutting, leave the protective film on to prevent scratches. Use common cutting tools like a skill saw or table saw, and remove any filings from the channels with compressed air.
Rib Orientation: Always install the polycarbonate sheets with the ribs running vertically, not horizontally, to allow moisture to escape and prevent mold growth.
Avoid Splicing: Never attempt to splice sheets with a horizontal H profile, as it will lead to leaks and potential mold issues.
Account for Contraction and Expansion: Allow for 1/8″ per 3′ of contraction and expansion in your installation.
Predrill Screw Holes: Ensure your screw holes are slightly larger than the screws to accommodate the material’s movement. Using neobonded washers will prevent leaks.
Pitch the Roof: Maintain a minimum 1 on-12 roof pitch; avoid flat roofs to prevent leaks at the H profiles.
Minimum Bending Radius: If bending polycarbonate sheets refer to manufacturer charts for the minimum bending radius.
Avoid Excessive Silicone: Don’t overuse silicone on joints; polycarbonate requires flexibility to account for material expansion and contraction.
Mind Sheet Orientation: When cutting angles for gables, ensure both are cut from the same side of the sheet to maintain UV protection on both sides.
FAQ:
1. How do you seal polycarbonate greenhouse panels?
Polycarbonate greenhouse panels can be sealed using compatible polycarbonate-compatible sealants. Properly clean and prepare the panel edges, then apply the sealant to create a watertight and airtight seal.
2. What is the best sealant for a polycarbonate greenhouse?
Silicone-based sealants specifically designed for polycarbonate are often recommended for the best sealing results in a polycarbonate greenhouse.
3. Does a polycarbonate greenhouse need a base?
Yes, a solid and level foundation or base is essential for a polycarbonate greenhouse to provide stability, and support, and prevent shifting or settling.
4. What thickness polycarbonate is best for a greenhouse?
The recommended thickness for polycarbonate greenhouse panels is typically 6mm to 8mm, as it offers good insulation and durability while allowing sufficient light transmission.
5. How long do polycarbonate greenhouses last?
Well-maintained polycarbonate greenhouses can last for 15 to 25 years or more, depending on the quality of materials and environmental conditions.
6. How do you secure a polycarbonate greenhouse to the ground?
Secure a polycarbonate greenhouse by anchoring it to the ground using anchors, screws, or bolts, ensuring it’s properly leveled and stable.
7. Is polycarbonate safe for greenhouses?
Polycarbonate is considered safe for use in greenhouses as it’s durable, resistant to UV rays, and provides good insulation while allowing diffused light for plant growth.
Conclusion
In wrapping up my experience of installing polycarbonate sheets in my greenhouse, I’ve gathered some valuable insights. first, ensure the sheets have UV protection for long-lasting use. Second, plan your materials and unload them with care. Store the sheets away from direct sunlight.
Additionally, construct a sturdy frame and maintain the protective film while cutting and aligning the ribs vertically. Avoid splicing sheets and allow for expansion, using neobonded washers for screws. Ensure a pitched roof and follow bending guidelines.
Lastly, use silicone sparingly on joints. With these steps in place, my greenhouse is ready to provide the perfect environment for my plants to thrive. So, why are you waiting for try it as sson as posible.

